
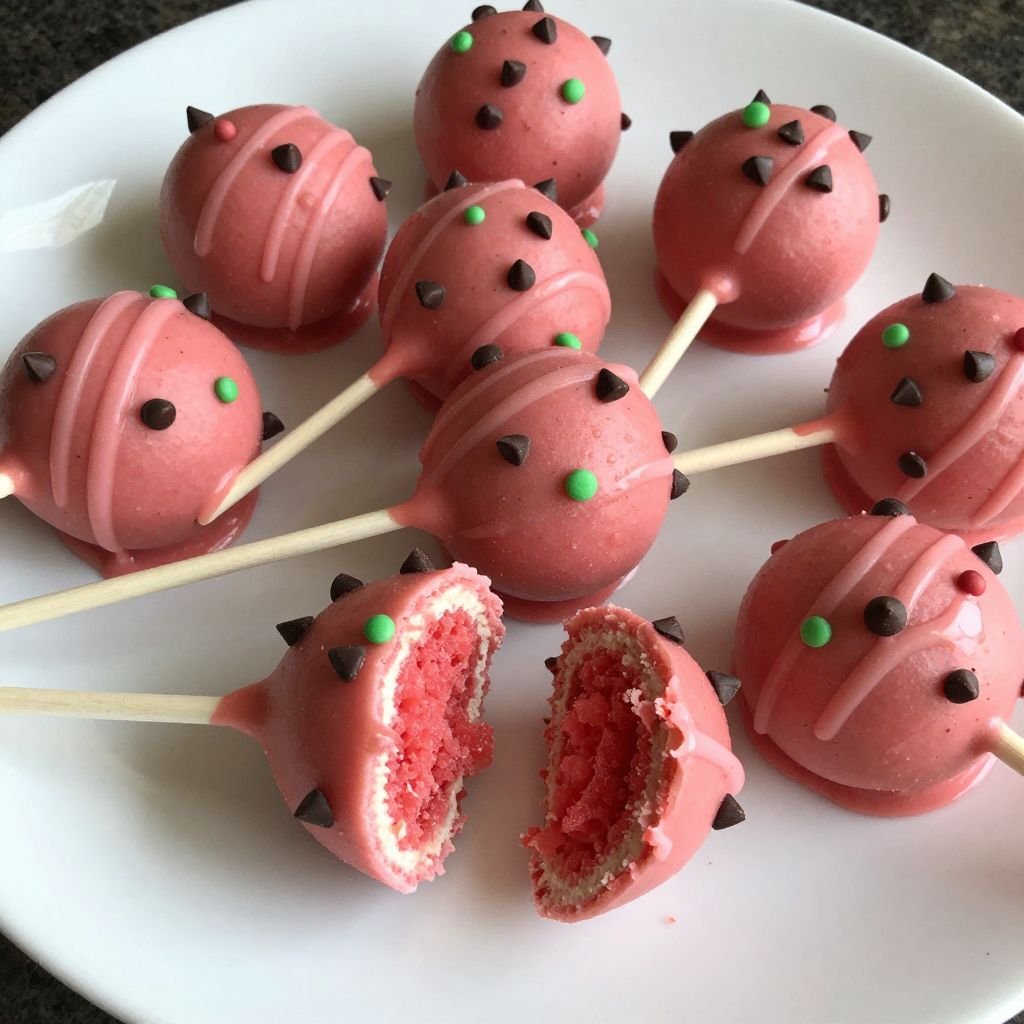
Imagine biting through a smooth chocolate shell to reveal a burst of juicy watermelon flavor — sweet, summery, and impossibly fun. These cake pops capture the essence of summer’s favorite fruit in a perfectly portable treat that looks as adorable as it tastes. With their cheerful pink centers and optional chocolate-dipped coating, they’re the star of every dessert table.
Why You’ll Love This Recipe
- No-fail dipping technique means even first-timers get smooth, professional-looking results
- Watermelon extract delivers authentic fruit flavor without the watery mess of fresh fruit
- Make them 3 days ahead and store in the fridge — perfect for parties and events
- Kid-approved and crowd-pleasing, these disappear faster than actual watermelon slices
- Customizable coating options let you match any party theme or color scheme
Pro Tips
- Chill the formed cake balls for at least 2 hours before dipping to prevent cracking and sliding
- Dip your lollipop stick in melted chocolate before inserting it into each ball — this “glue” keeps them secure during dipping and serving
- Tap off excess coating by gently tapping your wrist, not the stick directly, to avoid air bubbles and drips
- Use a styrofoam block or upside-down colander to hold the sticks upright while the coating sets — this prevents flat spots and keeps the round shape perfect
Pink Watermelon Flavored Cake Pops
Ingredients
Method
- Bake the white cake according to package directions in a 9×13-inch pan. Let cool completely to room temperature, about 1 hour.
- Crumble the cooled cake into a large bowl until you have fine crumbs with no large chunks remaining. Add the vanilla frosting, watermelon extract, and pink food coloring, mixing with your hands or a spatula until evenly combined and the mixture holds together when squeezed.
- Roll the mixture into 24 evenly-sized balls (about 1.5 tablespoons each) and place them on a parchment-lined baking sheet. Press 3-4 mini chocolate chips into each ball if using, arranging them like watermelon seeds.
- Refrigerate the cake balls for at least 2 hours or freeze for 30 minutes until very firm.
- Melt the white candy melts according to package directions. Dip the tip of each lollipop stick about 1/2 inch into the melted coating, then insert it halfway into a chilled cake ball. Return to the fridge for 5 minutes to set the stick.
- Working one at a time, dip each cake pop into the melted coating, covering completely. Gently tap your wrist to remove excess coating, allowing it to drip back into the bowl.
- Stand the coated pops upright in a styrofoam block or upside-down colander. Let the coating set completely at room temperature for 30 minutes, or refrigerate for 10 minutes to speed up the process.
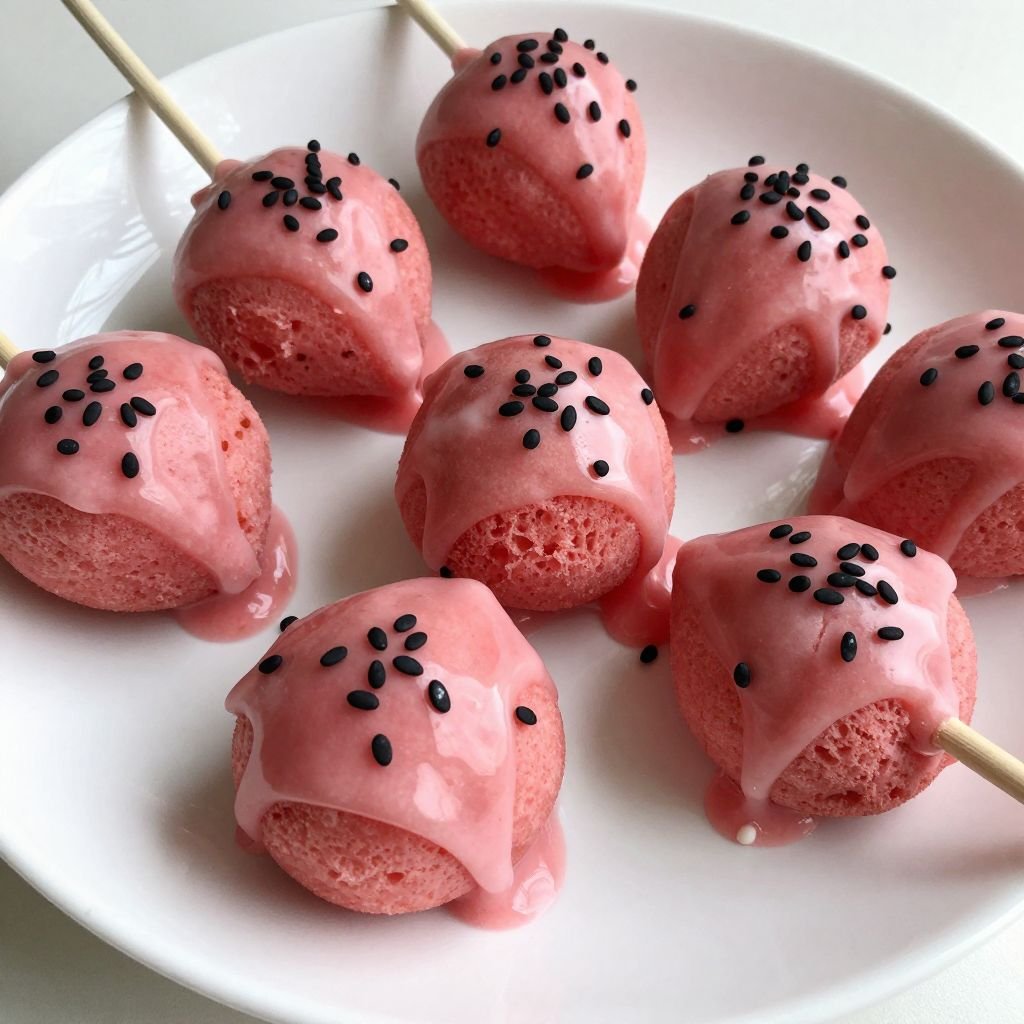
Frequently Asked Questions
Can I use a different cake flavor as the base?
Yes, white or vanilla cake works beautifully and keeps the pink color vibrant. Avoid chocolate cake as it will muddy the watermelon pink hue you’re after.
What if I don’t have watermelon extract?
Substitute with 1-2 teaspoons of watermelon candy flavoring oil or a combination of strawberry extract and a tiny drop of lime juice for a fruity profile. Start with less and taste as you go.
How do I prevent the coating from cracking?
Make sure your cake balls are cold but not frozen, and let the melted coating cool slightly before dipping. The temperature difference between a frozen ball and hot chocolate causes cracking.
How long do these stay fresh?
Store them in an airtight container in the refrigerator for up to 5 days, or freeze for up to 2 months. Let frozen pops sit at room temperature for 10 minutes before serving for the best texture.
Storage & Serving
Keep finished cake pops refrigerated in a single layer in an airtight container for up to 5 days, or freeze them for up to 2 months in a freezer-safe container with parchment between layers. Serve chilled or at room temperature as a handheld dessert, arrange them in a watermelon-shaped display for summer parties, or package them individually in clear bags tied with ribbons for adorable party favors.
These vibrant treats bring instant smiles wherever they go — grab your ingredients and get ready to make the cutest summer dessert on your table.