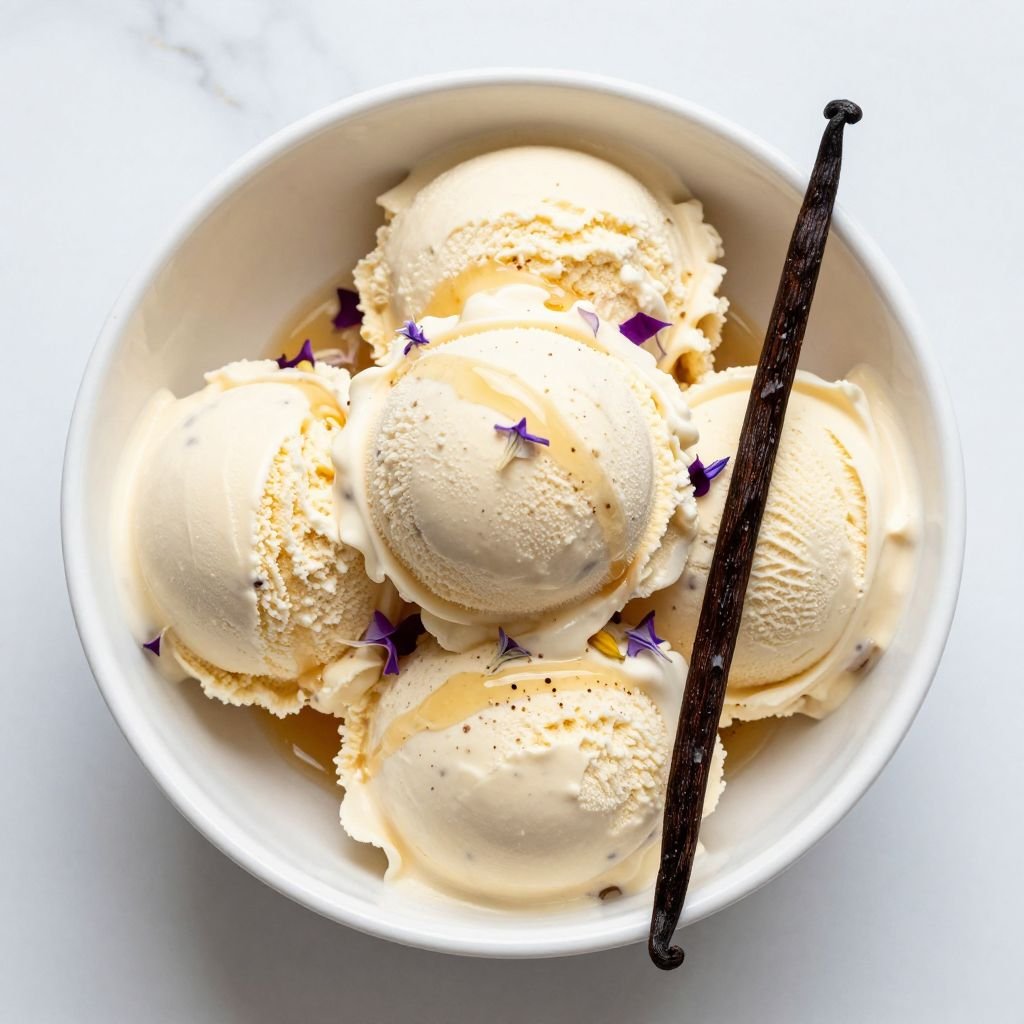
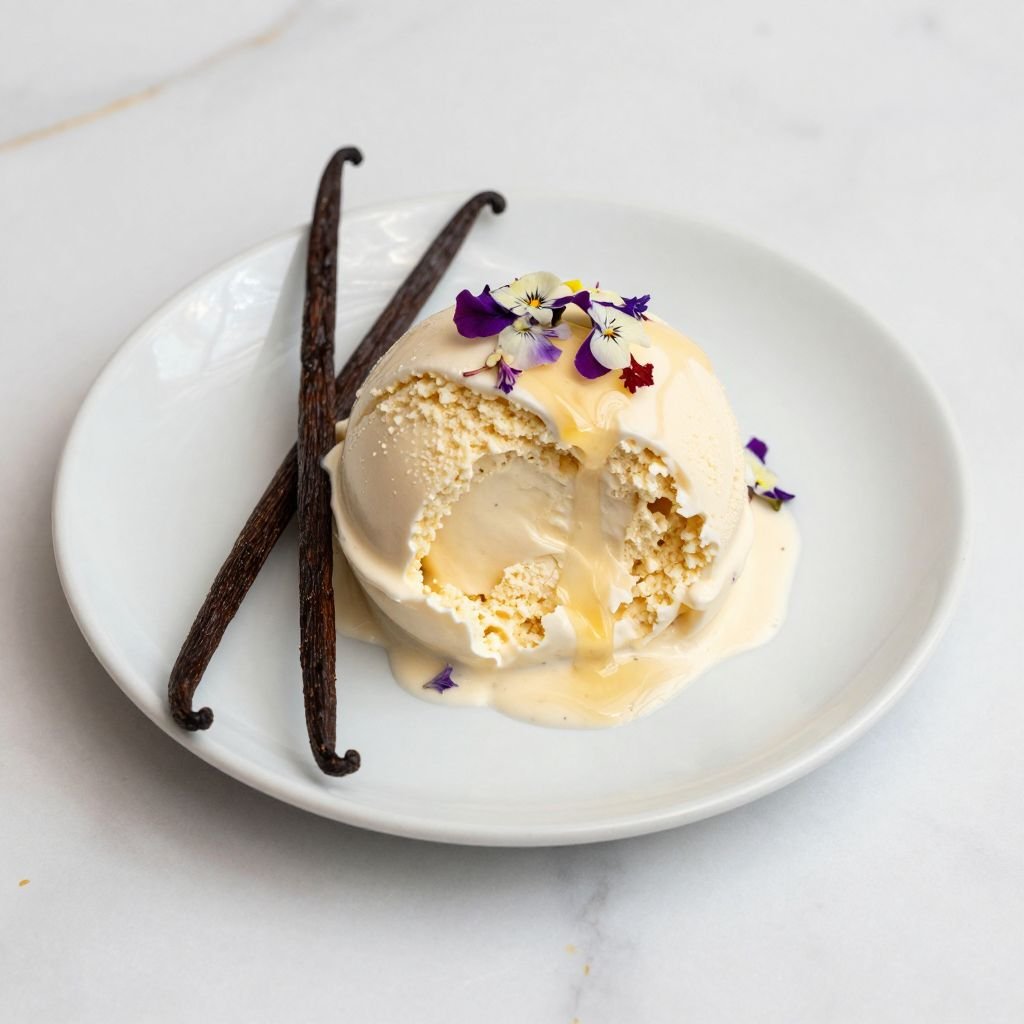
The moment you taste real vanilla bean ice cream made at home, you’ll understand why store-bought never quite compares. Those tiny flecks of vanilla seeds suspended in silky, cream-kissed custard deliver a depth of flavor that turns a simple scoop into pure indulgence. This is the recipe that makes your ice cream maker earn its counter space.
Why You’ll Love This Recipe
- Rich, custard-based ice cream with genuine vanilla bean flavor that tastes like luxury
- Perfectly smooth and scoopable texture straight from the freezer, no rock-hard disappointment
- Uses real vanilla beans for those gorgeous specks and authentic flavor you can’t get from extract alone
- Makes enough for a crowd but keeps beautifully for weeks of personal treats
- Endlessly customizable as a base for mix-ins, sundaes, or elegant plated desserts
Pro Tips
- Split your vanilla bean lengthwise and scrape seeds with the back of your knife — then toss the pod into the warming cream to extract every bit of flavor. Fish it out before churning.
- Temperature is everything: your custard must reach 170-175°F to properly thicken without curdling. Use a thermometer and stir constantly in figure-eight patterns.
- Chill your custard base completely (ideally overnight) before churning. Cold base = faster churning = smaller ice crystals = creamier texture.
- After churning, the ice cream will be soft-serve consistency. Transfer to a freezer-safe container and freeze for at least 4 hours to reach proper scooping firmness. Press plastic wrap directly on the surface to prevent ice crystals.
Homemade Vanilla Bean Ice Cream
Ingredients
Method
- Combine the heavy cream, whole milk, 1/2 cup sugar, vanilla bean seeds, and scraped pods in a medium saucepan. Heat over medium heat, stirring occasionally, until the mixture just begins to steam and small bubbles form around the edges, about 5 minutes. Do not boil.
- While the cream mixture heats, whisk together the egg yolks, remaining 1/4 cup sugar, and salt in a medium bowl until pale and slightly thickened, about 1 minute.
- Slowly pour about 1 cup of the hot cream mixture into the egg yolks while whisking constantly to temper the eggs. This gradually raises the temperature without scrambling them.
- Pour the tempered egg mixture back into the saucepan with the remaining cream. Cook over medium-low heat, stirring constantly in a figure-eight pattern with a wooden spoon or silicone spatula, until the custard thickens enough to coat the back of the spoon and reaches 170-175°F on an instant-read thermometer, about 5-8 minutes.
- Immediately strain the custard through a fine-mesh sieve into a clean bowl to remove the vanilla pods and any cooked egg bits. Stir in the vanilla extract.
- Cover the bowl with plastic wrap pressed directly against the custard surface to prevent a skin from forming. Refrigerate until completely chilled, at least 4 hours or preferably overnight.
- Pour the chilled custard into your ice cream maker and churn according to the manufacturer’s instructions until it reaches a soft-serve consistency, typically 20-25 minutes.
- Transfer the churned ice cream to a freezer-safe container, press plastic wrap or parchment paper directly on the surface, cover tightly, and freeze until firm, at least 4 hours or overnight before serving.
Frequently Asked Questions
Can I use vanilla extract instead of vanilla beans?
Yes, use 1 tablespoon of pure vanilla extract added after cooking the custard. You’ll lose the visual bean flecks but still get excellent flavor. Add it once the custard has cooled slightly to preserve the delicate aromatics.
How do I prevent ice crystals from forming during storage?
Press a piece of parchment paper or plastic wrap directly onto the ice cream surface before sealing the container. Store in the coldest part of your freezer, not the door. Consuming within 2 weeks ensures the best texture.
What if my custard curdles while cooking?
If you catch it early with just a few lumps, immediately strain through a fine-mesh sieve into a clean bowl set over ice. For severe curdling, blend with an immersion blender, then strain. Prevention is easier — keep heat medium-low and never stop stirring.
Do I need an ice cream maker for this recipe?
An ice cream maker produces the smoothest texture by churning air into the custard while freezing. Without one, you can freeze the custard in a shallow pan and whisk vigorously every 30 minutes for 3-4 hours, but the texture won’t be quite as creamy.
Storage & Serving
Store in an airtight container with plastic wrap pressed against the surface for up to 3 weeks in the freezer. Let sit at room temperature for 5 minutes before scooping for easiest serving. Serve in waffle cones, alongside warm fruit cobbler, or elevate it with a drizzle of salted caramel and toasted nuts. This ice cream also shines sandwiched between homemade cookies or as the base for an old-fashioned sundae bar.
There’s something magical about making ice cream from scratch — give yourself the gift of a chilly summer afternoon and this recipe that’ll become your forever favorite.