
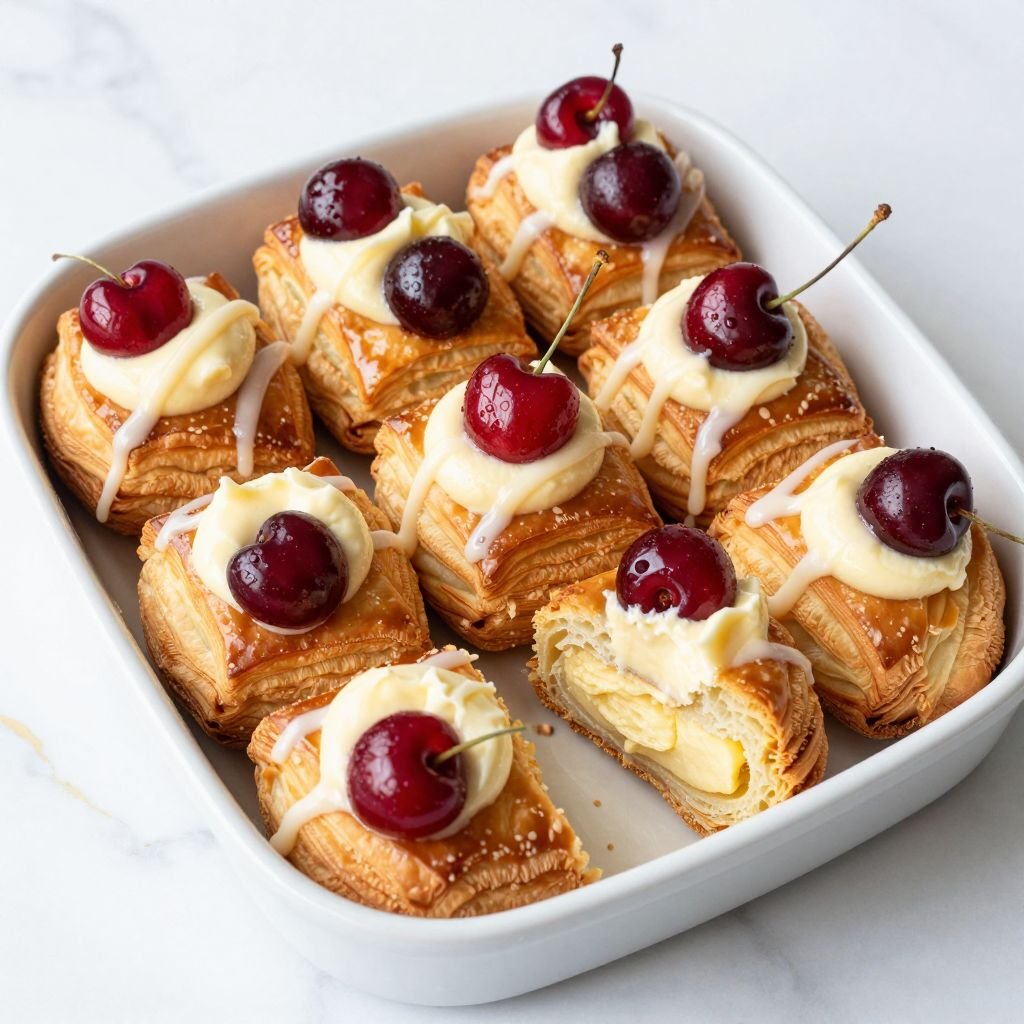
The first bite delivers a symphony of textures — buttery, golden layers shatter under your fork, revealing a cloud of sweet cream cheese dotted with jewel-like cherries. This pastry looks like it came from a European bakery window, but you’ll have it on your breakfast table in under an hour.
Why You’ll Love This Recipe
- Store-bought puff pastry creates bakery-quality flakiness without laminating butter for hours
- The cream cheese filling stays perfectly creamy and tangy, balancing the sweet cherry topping
- Each Danish bakes up golden with a gorgeous lattice pattern that photographs beautifully
- Make the filling ahead and assemble these in 15 minutes when guests are coming
- One batch yields 8 pastries, perfect for brunch gatherings or freezing individually
Pro Tips
- Keep puff pastry cold until the moment you’re ready to work with it — warm pastry won’t puff properly and creates a dense, greasy texture instead of light layers
- Brush the edges with egg wash before baking to create that deep mahogany shine you see in bakeries, and sprinkle with coarse sugar for extra crunch
- Don’t overfill the centers — a heaping tablespoon of cream cheese mixture is plenty, or it’ll bubble over and glue the pastry down
- Drain canned cherries on paper towels for 10 minutes before using to prevent a soggy bottom, or use fresh cherries tossed with a teaspoon of cornstarch
Flaky Cream Cheese Cherry Danish
Ingredients
Method
- Preheat your oven to 400°F (200°C) and line a large baking sheet with parchment paper. Keep the puff pastry refrigerated until ready to use.
- In a medium bowl, beat the softened cream cheese with granulated sugar until smooth and fluffy, about 2 minutes. Mix in the egg yolk, vanilla extract, and almond extract until fully combined. Set aside.
- Unfold the thawed puff pastry sheet on a lightly floured surface and roll it gently into a 12×12-inch square. Cut the pastry into 8 equal rectangles using a sharp knife or pizza cutter.
- Place about 1½ tablespoons of cream cheese filling in the center of each rectangle, spreading it slightly but leaving a ½-inch border on all sides. Top the cream cheese with 5-6 drained cherries or a spoonful of cherry pie filling.
- Make diagonal cuts along the long edges of each pastry, creating strips about ¾-inch apart. Fold alternating strips over the filling to create a crisscross lattice pattern, gently pressing the ends to seal.
- Transfer the assembled Danishes to your prepared baking sheet, spacing them 2 inches apart. Brush the entire surface with egg wash and sprinkle generously with coarse sugar.
- Bake for 18-22 minutes until the pastries are deeply golden brown and puffed, with visible flaky layers. The bottoms should be crisp and golden when you lift one with a spatula.
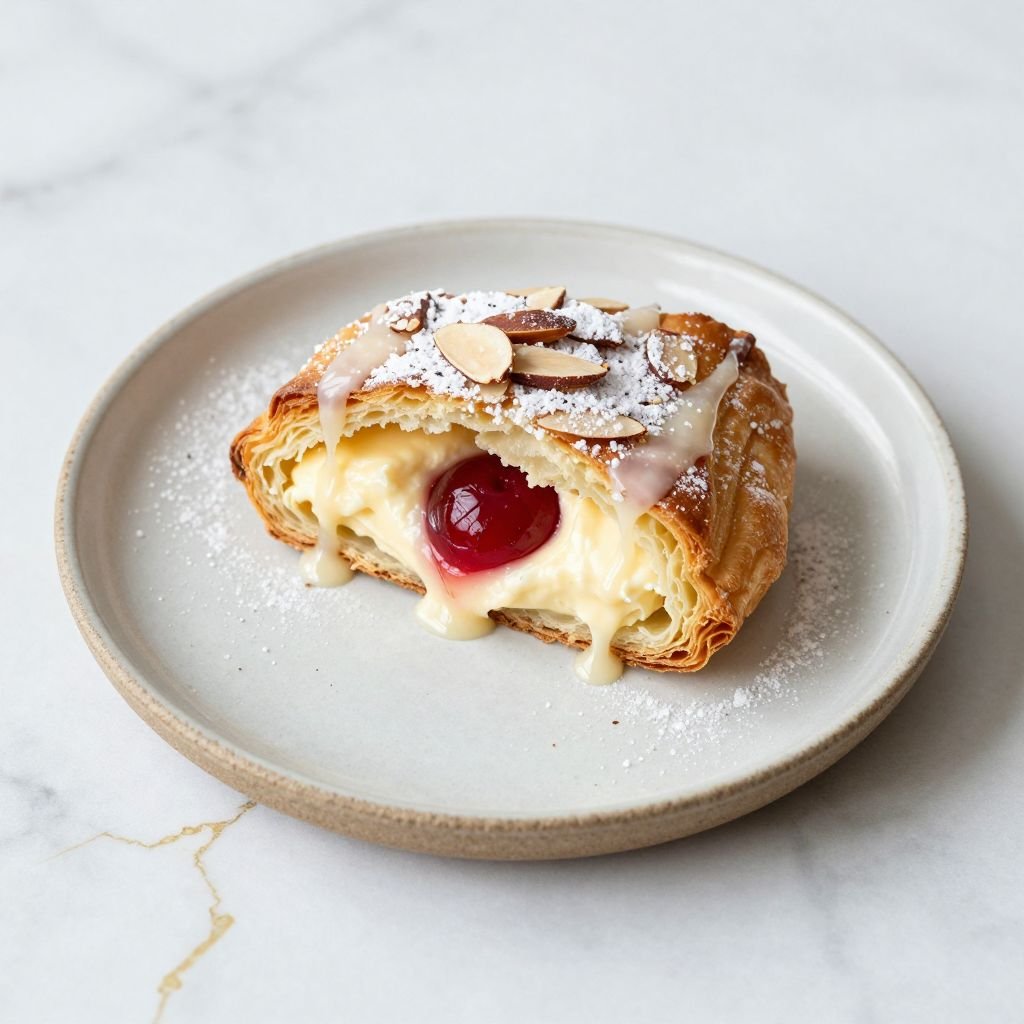
- Cool on the baking sheet for 5 minutes, then transfer to a wire rack. If desired, whisk together powdered sugar and milk to make a thin glaze and drizzle over the warm pastries before serving.
Frequently Asked Questions
Can I use fresh cherries instead of canned?
Absolutely! Use 1½ cups pitted fresh cherries mixed with 2 tablespoons sugar and 1 teaspoon cornstarch. Let them macerate for 15 minutes before draining and adding to the pastries.
How do I prevent the cream cheese filling from running out?
Leave a ½-inch border around the filling and press the pastry edges firmly to seal. Chilling the assembled pastries for 10 minutes before baking also helps the filling set and stay put.
Can I make these the night before?
Yes, assemble them completely and refrigerate unbaked on the baking sheet, covered with plastic wrap. Bake directly from the fridge in the morning, adding 2-3 extra minutes to the baking time.
What if my puff pastry tears while rolling?
Gently press the torn edges back together with your fingers. Small tears won’t show after baking since the pastry puffs and camouflages imperfections. If it’s badly damaged, let it warm slightly and try again.
Storage & Serving
Store baked Danishes in an airtight container at room temperature for up to 2 days, or refrigerate for up to 5 days — warm them in a 300°F oven for 5 minutes to restore crispness. Freeze unbaked assembled pastries for up to 2 months and bake straight from frozen. Serve these warm with coffee for breakfast, dust with powdered sugar for an elegant brunch centerpiece, or drizzle with vanilla glaze for an extra-special dessert.
These golden beauties prove that impressive pastries don’t require professional training — just grab that puff pastry and make someone’s morning unforgettable.