The microwave hums for just 90 seconds, and suddenly you’re holding a warm, fluffy cloud of peanut butter heaven in your favorite mug. This single-serving cake delivers that nostalgic peanut butter flavor with a tender, slightly gooey center that’s ready faster than you can scroll through your feed.
Why You’ll Love This Recipe
- Ready in under 5 minutes from start to finish, perfect for those late-night dessert emergencies
- Makes exactly one generous portion with no leftovers tempting you from the counter
- Uses pantry staples you probably already have — no special ingredients or fancy equipment
- Customizable sweetness and mix-ins, so you can make it your own every time
- Cleanup is literally just one mug and one spoon
Pro Tips
- Use natural peanut butter for a more intense, less sweet flavor, or regular creamy peanut butter for classic taste — just avoid the ultra-thick natural varieties that don’t incorporate well
- Don’t overmix the batter; stir just until no dry flour streaks remain to keep the texture light and tender instead of rubbery
- Microwave wattage varies wildly, so start with 60 seconds, then add 10-second bursts until the center is just set with a slight jiggle — it firms up as it cools
- Let it rest for 1 minute after microwaving so the texture sets properly and you don’t burn your tongue on molten peanut butter pockets
Quick Peanut Butter Mug Cake
Ingredients
Method
- Spray a 12-ounce microwave-safe mug with cooking spray or lightly grease with butter to prevent sticking.
- Add the peanut butter to the mug and microwave for 10-15 seconds until softened and easy to stir.
- Crack the egg directly into the mug with the peanut butter and whisk vigorously with a fork until completely smooth with no streaks.
- Add the sugar, milk, and vanilla extract to the mug and stir until well combined and the sugar begins to dissolve.
- Add the flour, baking powder, and salt, then gently stir just until no dry flour pockets remain, being careful not to overmix.
- Microwave on high power for 60-90 seconds, watching carefully. The cake is done when the top looks mostly set with just a slight jiggle in the center.
- Let the mug rest for 1 minute to allow the texture to set and cool slightly before eating. Top with your favorite additions and enjoy with a spoon directly from the mug.
Frequently Asked Questions
Can I make this without eggs?
Yes, substitute with 1 tablespoon unsweetened applesauce or mashed banana. The texture will be slightly denser but still delicious.
What size mug should I use?
Use a microwave-safe mug that holds at least 12 ounces to prevent overflow. The batter rises significantly during cooking, so larger is safer.
Why did my mug cake turn out rubbery?
Overcooking is the usual culprit. Microwaves vary in power, so reduce the time by 10-15 seconds next time and check for doneness when the top looks mostly set.
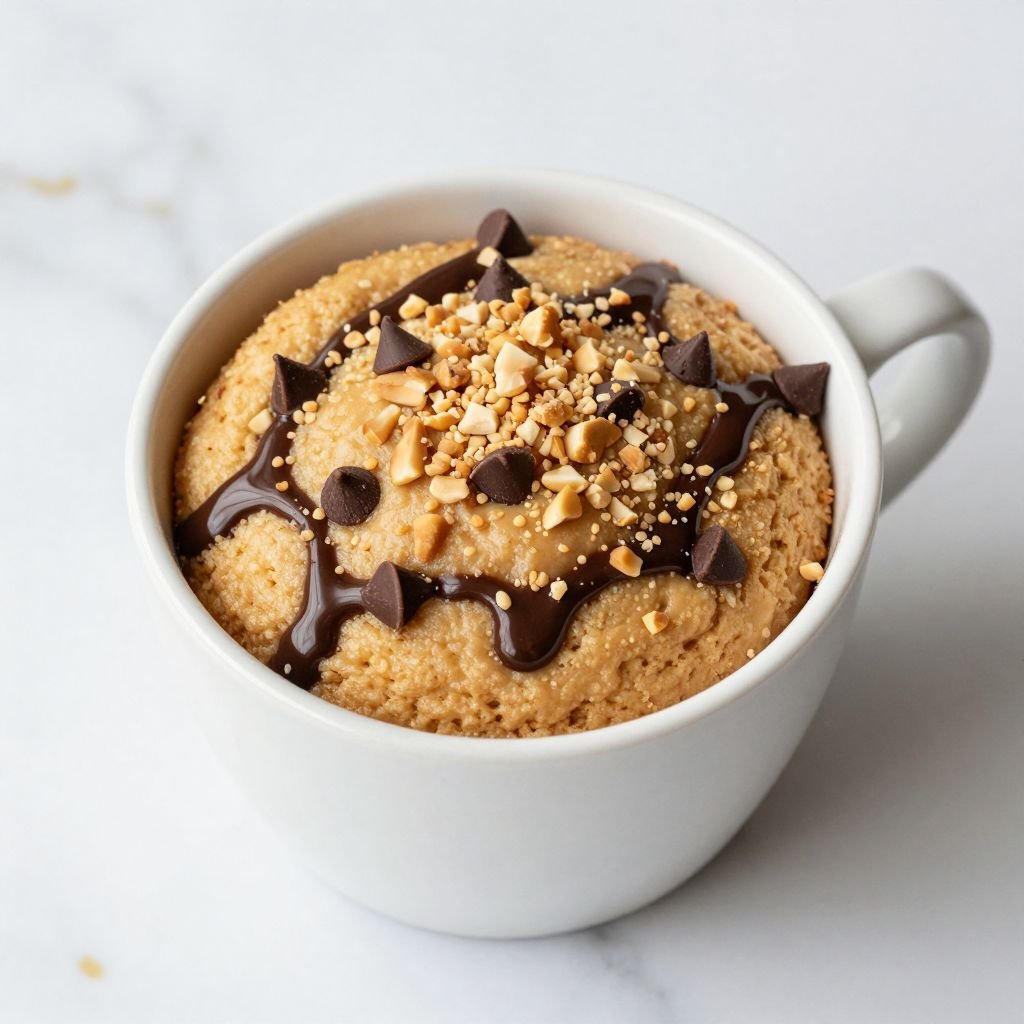
Can I add chocolate chips?
Absolutely! Fold in 1-2 tablespoons of chocolate chips, chopped peanut butter cups, or a drizzle of Nutella before microwaving for extra indulgence.
Storage & Serving
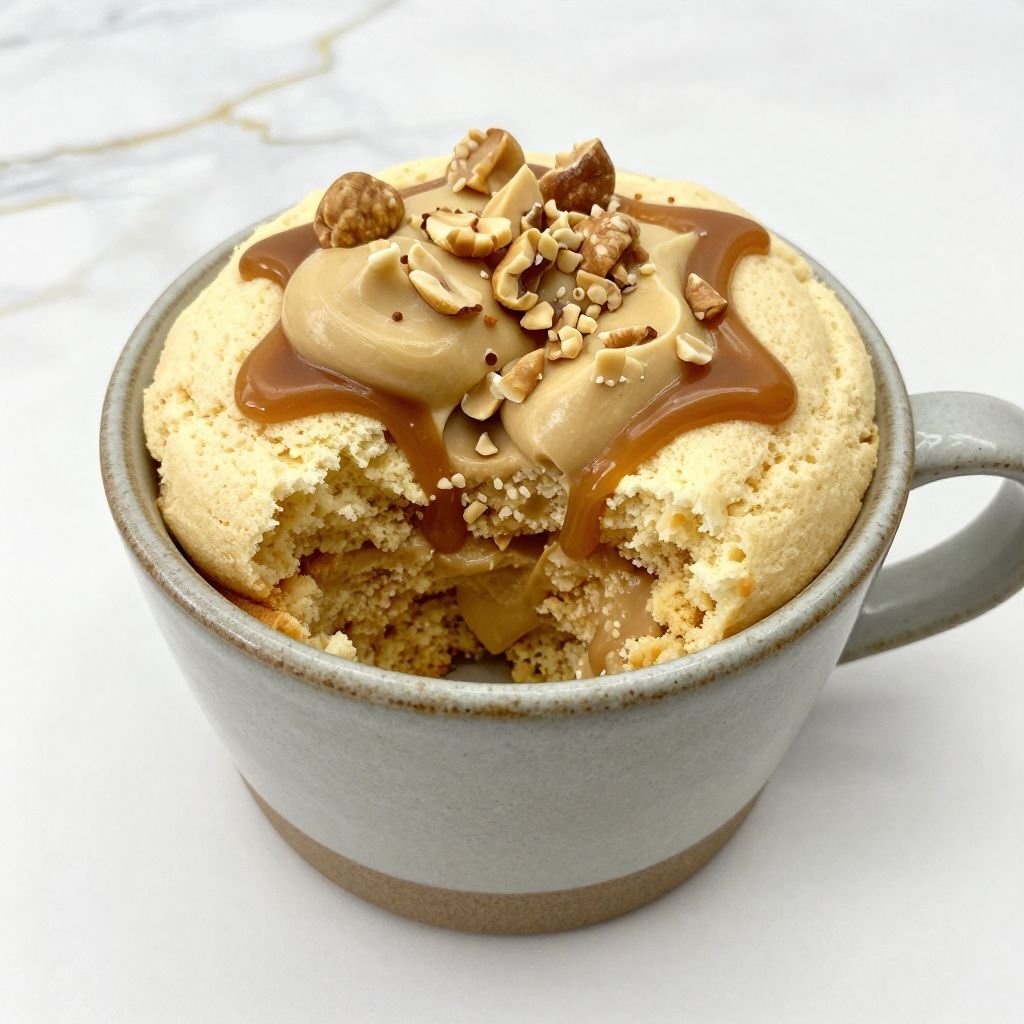
This treat is best enjoyed warm straight from the mug, but you can refrigerate leftovers covered for up to 1 day and reheat for 15-20 seconds. Top with a scoop of vanilla ice cream that melts into the warm cake, a drizzle of honey, or a sprinkle of sea salt for a sweet-salty finish. It’s also amazing with sliced banana and a dollop of whipped cream for a breakfast-inspired twist.
Whether you’re satisfying a sudden craving or treating yourself after a long day, this little cake delivers big comfort in the fastest way possible.