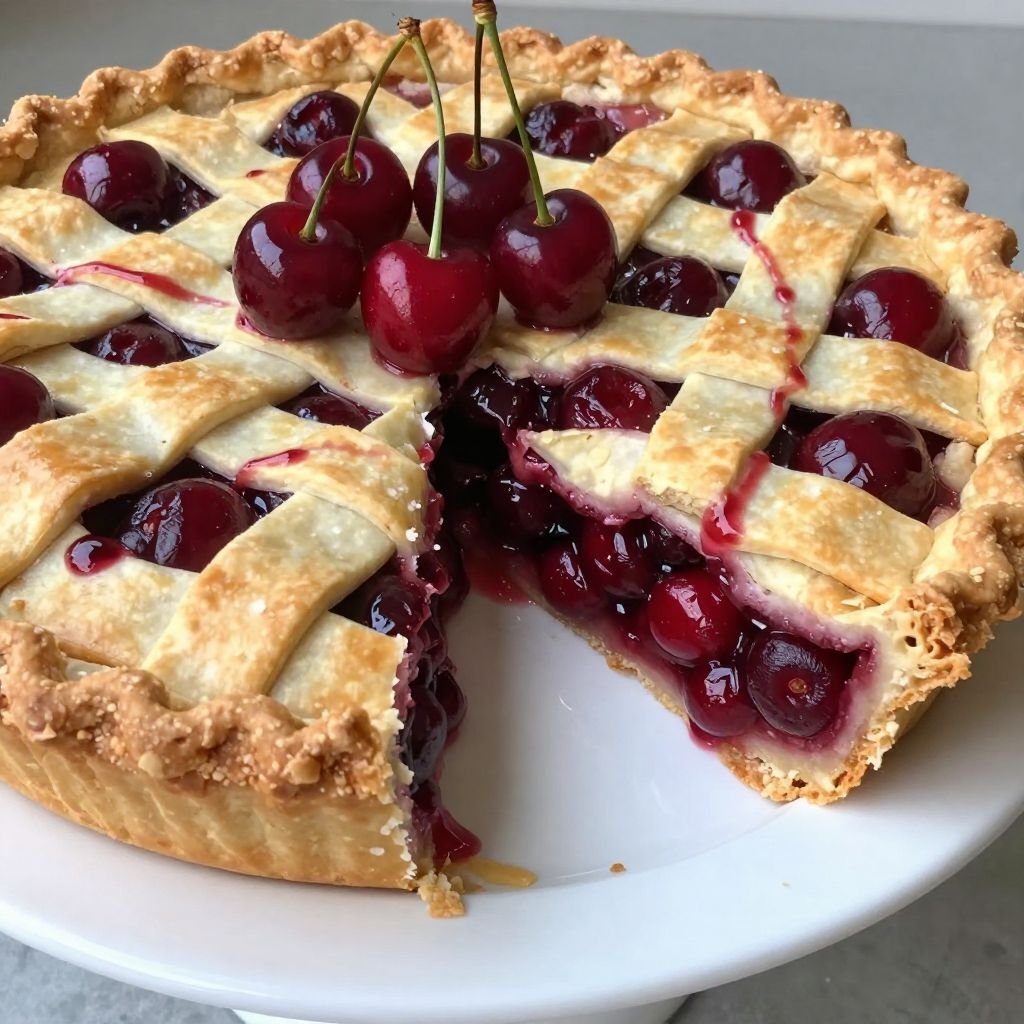
The first bite delivers a burst of sweet-tart cherry juice that floods your mouth, followed by the buttery flake of perfect pastry. This pie captures peak cherry season in a golden, lattice-topped masterpiece that tastes like summer itself — no canned filling, no artificial flavors, just pure cherry perfection baked until bubbling.
Why You’ll Love This Recipe
- Uses fresh cherries at their peak, creating a filling that’s vibrant and naturally sweet with just the right amount of tang
- The foolproof lattice crust looks bakery-elegant but comes together easier than you think with step-by-step guidance
- Make-ahead friendly since you can prep the filling and crust separately a day before assembly
- Cornstarch thickening means no gummy texture, just glossy cherries that slice cleanly without flooding the plate
- Impressive enough for holiday gatherings yet simple enough for a weekend baking project
Pro Tips
- Pit cherries over a bowl to catch the juice — you’ll use it in the filling for maximum cherry flavor instead of discarding this liquid gold
- Let the filling cool completely before pouring into the crust to prevent a soggy bottom; warm filling releases too much steam during baking
- Brush the lattice with heavy cream and sprinkle coarse sugar before baking for a professional bakery finish with golden, sparkly color
- Place a baking sheet on the rack below your pie to catch any bubble-overs during baking, saving your oven from burnt cherry drips
Homemade Fresh Cherry Pie Recipe
Ingredients
Method
- Preheat your oven to 400°F (200°C). Roll out one pie crust and fit it into a 9-inch pie dish, letting the excess hang over the edges. Refrigerate while you prepare the filling.
- In a large bowl, combine the pitted cherries, granulated sugar, cornstarch, lemon juice, almond extract, and salt. Toss gently until the cherries are evenly coated. Let the mixture sit for 15 minutes to release juices.
- Pour the cherry filling into the chilled pie crust, spreading it evenly. Dot the top of the filling with the butter pieces, distributing them across the surface.
- Roll out the second pie crust and cut it into 1-inch strips for a lattice top. Weave the strips over the filling in a crisscross pattern, trimming any excess and crimping the edges with a fork or your fingers to seal.
- Brush the lattice and crimped edges with the egg wash, then sprinkle the coarse sugar generously over the top for a golden, sparkly finish.
- Place the pie on a baking sheet to catch drips. Bake for 20 minutes at 400°F, then reduce the temperature to 350°F (175°C) and continue baking for 40-45 minutes until the crust is deep golden brown and the filling is bubbling thickly through the lattice.
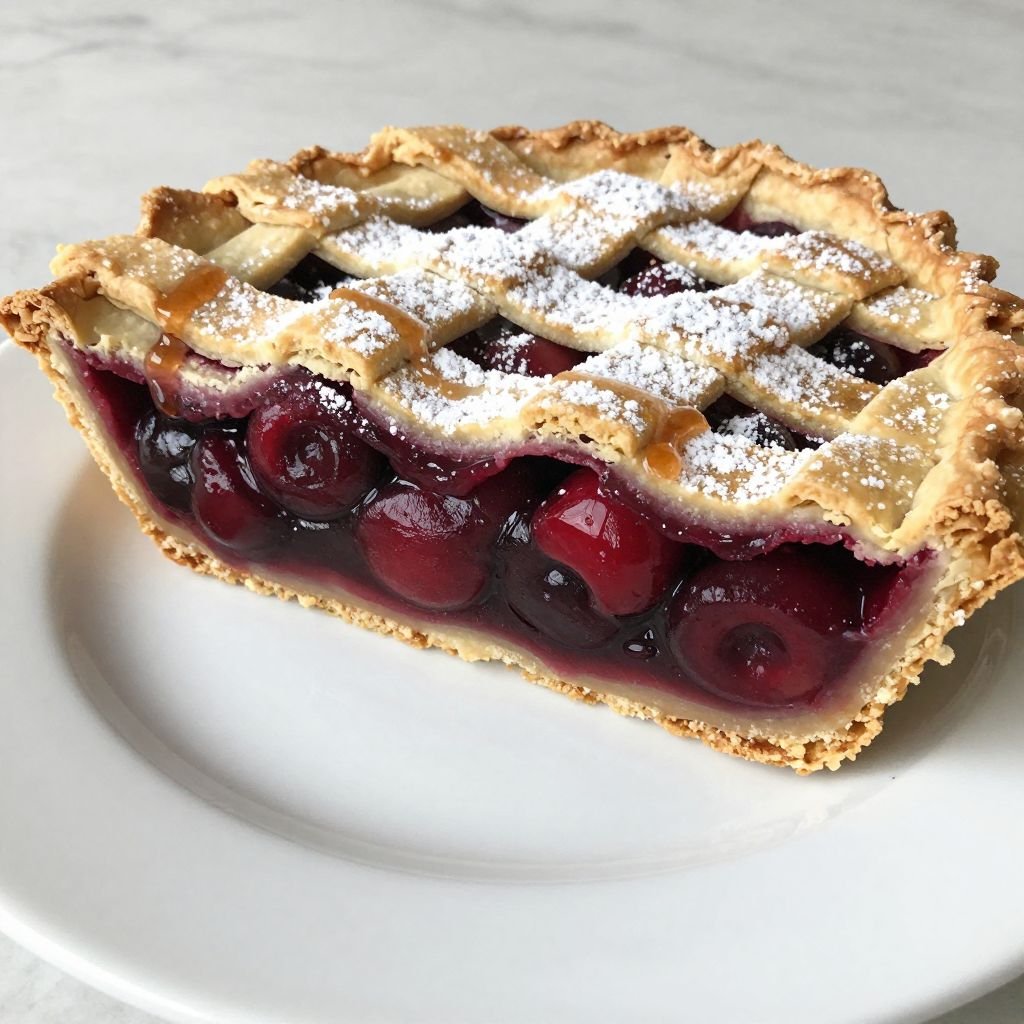
- Remove the pie from the oven and cool on a wire rack for at least 4 hours before slicing. This allows the filling to set properly for clean slices that don’t run.
Frequently Asked Questions
Can I use frozen cherries instead of fresh?
Yes, thaw and drain frozen cherries thoroughly, then pat dry with paper towels. Reduce the sugar by 2 tablespoons since frozen cherries are often packed sweeter, and add 1 extra tablespoon of cornstarch to compensate for the extra moisture.
How do I prevent a soggy bottom crust?
Blind bake the bottom crust for 10 minutes at 400°F before adding the cooled filling. You can also brush the pre-baked crust with a thin layer of beaten egg white, which creates a moisture barrier.
What’s the best way to pit cherries quickly?
Use a cherry pitter tool for speed, or push a drinking straw through the bottom of each cherry to pop the pit out the top. A paperclip bent into a hook shape also works in a pinch.
Why is my cherry pie filling runny?
The filling needs to cool and set for at least 4 hours after baking. Cutting into a warm pie releases the thickened juices before they’ve had time to gel properly. Patience is key for clean slices.
Storage & Serving
Store the pie loosely covered with foil at room temperature for up to 2 days, or refrigerate for up to 5 days. Freezing works beautifully — wrap the baked and cooled pie tightly in plastic wrap then foil for up to 3 months. Serve slices slightly warm with vanilla ice cream melting into the juices, alongside fresh whipped cream, or simply on its own to let the cherry flavor shine through at breakfast with coffee.
This pie is summer on a plate, and once you master the fresh cherry filling, you’ll never go back to canned.